Creating a Shift in Schedule board
Overview
Now that you understand how Scheduler board views and filters work, you can begin adding shifts to the Schedule Board.
In this article, we'll walk you through how this is done
Adding Shift
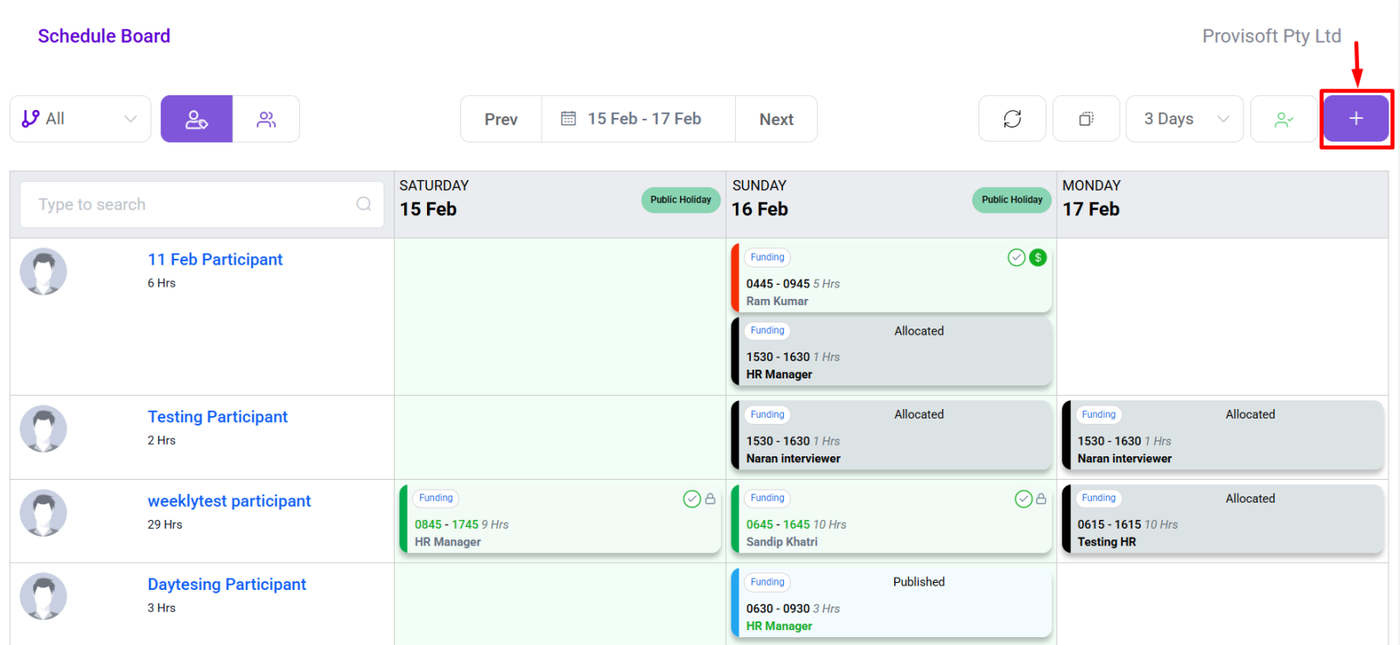
Go to Recruitment from the sidebar and click on the Schedule Board to begin the shift creation process.
Note :
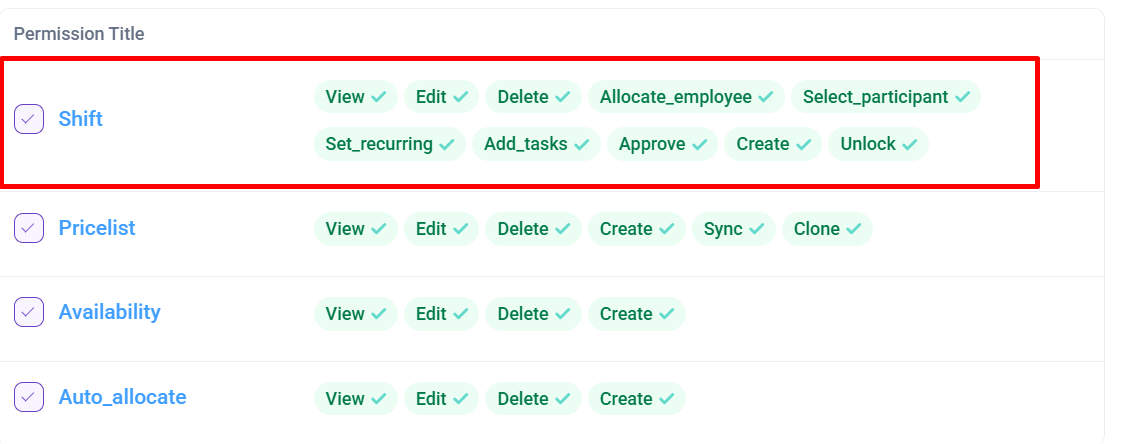
1. To View the Schedule Board Page You will need to have Permission : Rota > Shift >> View : Yes
2. To Create a new shift you will need to have Permission : Rota > Shift >> Create : Yes
3. To be able to Select Participant need to have Permission : Rota > Shift >> Select_participant : Yes
4. To be able to Allocate employee need to have Permission : Rota > Shift >> Allocate_employee : Yes


- Green (50% - 100%) – Sufficient funding available.
- Yellow (20% - 49.99%) – Moderate funding remaining.
- Red (0% - 19.99%) – Low or nearly exhausted funds.
Once, you select the participant then you need to assign a service fund. Click on the Service .This will open a dropdown list of available funding sources. Select the fund that aligns with the shift requirements and the participant’s needs.

Once the participant and service fund are selected, the next step is to define the shift details, including the start time, end time, travel distance, and employee assignment.
