Approval View
Once a scheduled shift is completed, it needs to be approved before generating invoices.
Note :
- To View/Manage the Shift Approval you need to have Permission : Rota > Shift >> Approve : Yes

Now, Using the Side bar Menu Click the Rostering > Click Approval.

The top section of this screen has the following sections :

- Dates :
- Participant : Select the Desired Participant you want to approve shifts for.
- Employee : Not Mandatory, Select the desired employee to approve shifts they have done with selected participants.
- Search : Use this, To search through the list of shifts, to filter any particular shifts.
 : This Button will remove all filters.
 : Once you make the required selections, you can execute by hitting the Go button.
Approval Screen Columns :
- Date : The Date of the shift.
- Participant : Name of the Participant who receive the service.
- Employee : The Staff Member Assigned to the Shift.
- Start Time : Shows the Scheduled Start time and actual Recorded time.
- End Time : Shows the Scheduled End time and actual Recorded time.
The Start Time and End Time are displayed with different background colors, which indicate their status: They are Explained below:- If rostered time = input time received from the app, the times will be displayed with a green bg and a tick next to it.
 This works for both start and end times.
 - If rostered time ≠ input time received from the app, the times will be displayed with a red bg

- When a shift time is displayed in red, it will also have a time displayed in blue just above it
 showing the original time. This is to allow the user to select either the start time or the new time.
- If rostered time = input time received from the app, the times will be displayed with a green bg and a tick next to it.
- Break Start Time : It is the section shown with marker 1 . This shows the break start time. The dropdown can be used to change the time however it can never be less than start time For example : if start time = 13:00 the break start time cannot be less than 13:00.
- Break End Time : It is the section shown with marker 2. This shows the break end time. The dropdown can be used to change the time however it can never be less than start time plus Min Break time settings. For example : if start time = 13:00 and min Break time = 30 mins, the break start time cannot be less than 13:30. Check min hours required as well.
- Break Duration : It is the section shown with marker 3. This Shows the break Duration.
- Approve Break Checkbox : If the box is checked, the break is taken as approved and will be processed accordingly. If not the break section will be ignored.

- Shift Notes : This column will show a part of the shift note upto (200 characters). The full note can be viewed by clicking on the view more button.
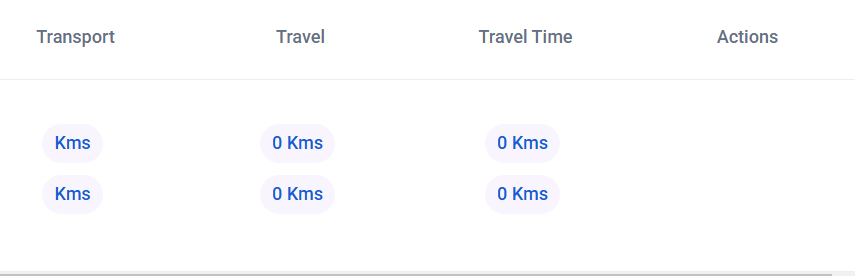
- Transport : This Section will list any Transport KMs Claimed by the employee, that is to be charged against that shift.
- Travel : This Section will list any Travel KMs Claimed by the employee, that is to be charged against that shift. Travel KMs is when a client is not being transported and can be claimed as a maximum of 30 minutes.
- Travel Time : This Section will list any Travel Time allocated to that shift, that is to be charged against that shift. Travel Time is a type of break when an employee is travelling to a client and can be claimed as a maximum of 30 minutes.
