Managing Applicant Status : Scheduling and Starting interviews & Rejecting Candidates.
In this article, we will cover
- Scheduling an Interview – Steps to schedule an interview.
- Start an Interview - Steps to start an interview.
- Rejecting a Candidate – How to mark an applicant as rejected and prevent further processing.
Scheduling an Interview

To Schedule an interview for candidate first you have to shortlist them. Click on the Shortlist Candidate Button to proceed.

After, Clicking the Shortlist Candidate Button, now system will display an Add Button in the interview Section, allowing you schedule an interview for the candidate.

Only users with the required access rights will be able to view and use the 'Add' icon to schedule interviews. So ensure the correct permission is enabled.

Clicking the +(Add) Button, the interview Schedule form appears where you can select the interviewer who will conduct the interview, Interview Format(Video, Phone, Inperson), pick the date for the interview, Choose the specific time for the interview, Select the appropriate timezone for the interview.

Choosing an interview Format
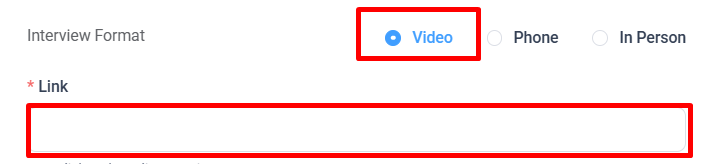
This form includes a selection for the type of interview, which can be one of three options: Video, Phone, or In-Person. You can choose any one of them depending on how you plan to conduct the interview.
- Video : For a video interview, select the 'Video' option and provide the video link where the interview will take place. This could be a link to platforms like Zoom, Google Meet, or any other video conferencing tool.
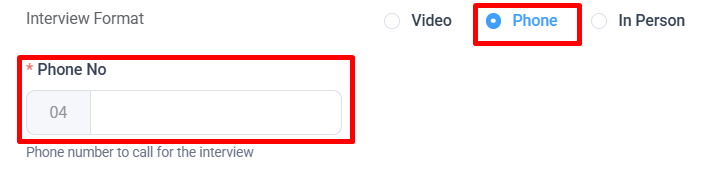
- Phone : For a phone interview, select the 'Phone' option and enter the applicant's phone number, which will be used to contact them for the interview.
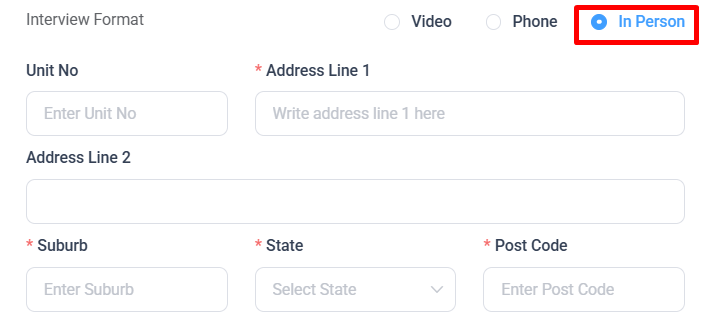
- In Person : For an in-person interview, select the 'In-Person' option and provide the address where the interview will be conducted. This can be the office address or a specific location for the interview.


"Once the Interview Schedule form is filled out and saved, an automatic email notification will be sent to both the applicant and the interviewer. This email will include all the essential details of the scheduled interview, such as the interview format, date, time, and any additional instructions or links (e.g., video link)."
The email ensures that both the applicant and the interviewer are well-informed and prepared for the upcoming interview.
Starting an interview
Once, you have scheduled an interview, the “Start Interview” icon will appear under the Action Column when the scheduled interview matches the current time.

Clicking "Start Interview", the Interview Session form will appear with questionnaire tab, evaluation tab.
- Questionnaire tab : In the Questionnaire tab, the interviewer can select questions from the provided list or add custom questions by clicking on the '+ Ask Custom Question' button. These questions can then be asked to the interviewee, and the interviewer can record the applicant’s responses.
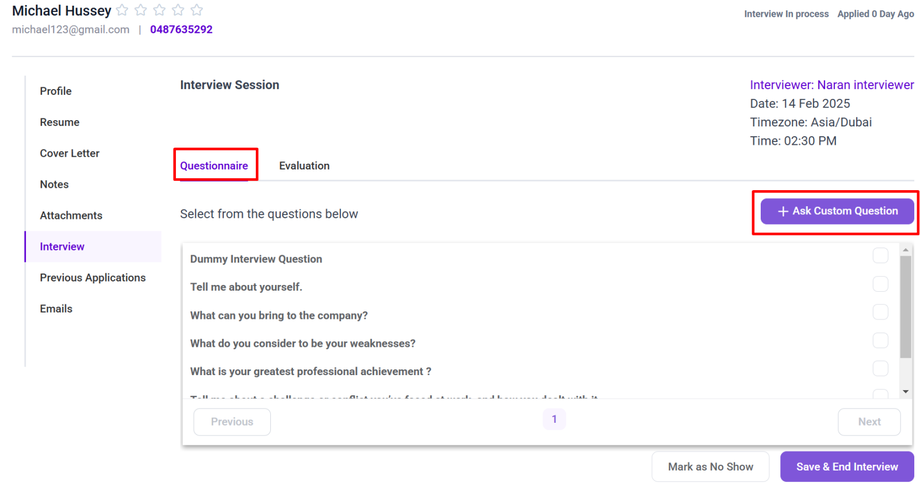
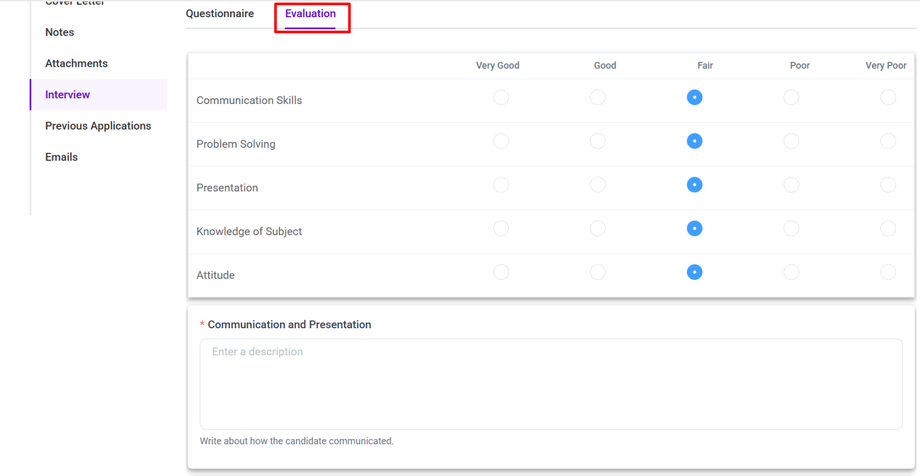
- Evaluation tab : After the interview, the interviewer can switch to the Evaluation tab to assess the interviewee's performance based on their responses. In this tab, the interviewer can rate the applicant or provide feedback according to the predefined evaluation criteria.


Note: Make sure to Save & End Interview once all questions are addressed and the evaluation is complete.
If the interviewee does not attend the interview at the scheduled time, the interviewer has the option to mark the interview as 'No Show.' This can be done by clicking on the Mark as No Show button."

Clicking this button will indicate that the interviewee did not show up for the interview, allowing the system to track the status of the interview and take any necessary actions.

Rejecting a Candidate
You can Reject a applicant to ensure that only the most suitable applicants are further progress.

To reject a applicant click on a Reject Candidate Button.

Clicking the Reject Candidate button, a confirmation prompt appears to verify that the decision is intentional and to capture the reason for rejection. You are required to enter a reason in the Reason field, which helps keep a clear record of why the candidate was not selected. This information is valuable for internal tracking and future reference.

To proceed with the rejection, click Yes; if you decide not to reject the candidate, click Cancel.