Editing and Deleting Participant Invoices
The core principle is: An invoiced shift is a locked financial record. It cannot be altered directly.
Phase 1: User Initiates Change to an Invoiced Shift
-
Action: A user with appropriate permissions attempts to edit or delete a shift.
-
System Check: The software checks the shift's status. If the shift is part of a generated invoice, the system immediately prevents the action.
- Shifts on schedule board : If a shift is a part of an invoice, the floating delete button will not be shown.

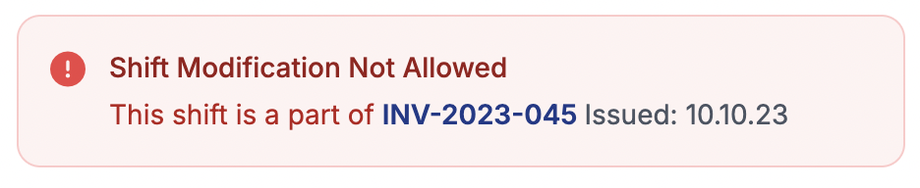
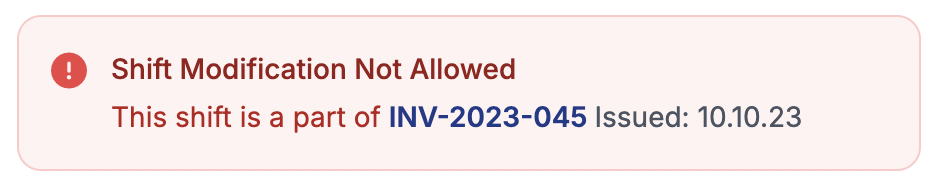
- Shifts on Participant Profile > Schedule : If a shift is a part of an invoice, The system will display this message to the user.
- Shifts on schedule board : If a shift is a part of an invoice, the floating delete button will not be shown.
Phase 2: Deleting the Invoice
-
Navigate to Invoices: The user needs to navigate to the Invoices
/admin/participant-invoices -
Locate and Delete Invoice: They find the specific invoice and select the "Delete" button.
-
System Cascade Update: Upon invoice deletion the system automatically Cascades this change to all shifts that were part of that invoice, changing their status from "Invoiced" back to "Approved".
Phase 3: Making Changes to the Shifts
-
Edit/Delete the Shift: The user can now return to the roster, find the shift (now in "Approved" status), and proceed with the necessary edits (e.g., change time, date, employee) or delete it entirely.
-
Re-approval: After editing, the shift will need to be re-approved it before it can be invoiced again.
Phase 4: Regenerating the Invoice
-
Action: Once all shifts are correctly updated and in the "Approved" status, the user can generate a new invoice.
-
Result: The system creates a new invoice which may or may not include the modified shifts (based on user filter selection). The new invoice will have a unique, new invoice number.