How to Add Funding
In this article we will learn how to create funding for participant
Note :
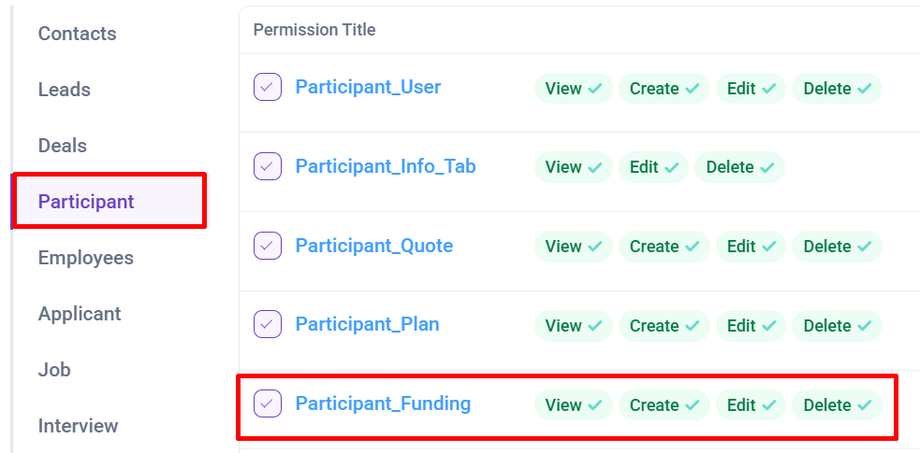
- To view a funding tab you need to have Permission : Participant > Participant_Funding >> View : Yes
- To create a funding you need to have Permission : Participant >> Participant_Funding >> Create : Yes
First, use the Search option to locate the participant for whom you want to create funding. Once found, click on the participant's name to proceed.
Once you click on a participant's name you will be directed to the Participant View Page. It includes the multiple tabs like Info, Plan, Contacts, Funding, Documents and more, allowing you to manage the participant information efficiently.
Click on the Funding tab to open the Funding Section, Then Click on + icon to create new funding.
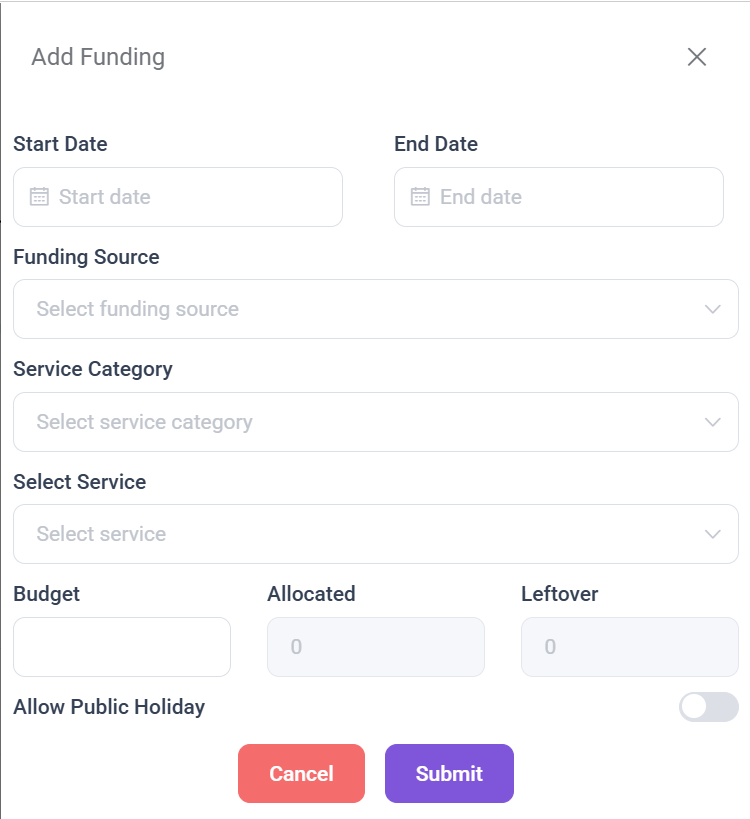
This will open the Add Funding Form where you can enter the necessary details.
Select the Start Date and End Date fields which defines the duration for which the funding will be active. These dates determine when the allocated funds can be used for the selected services.
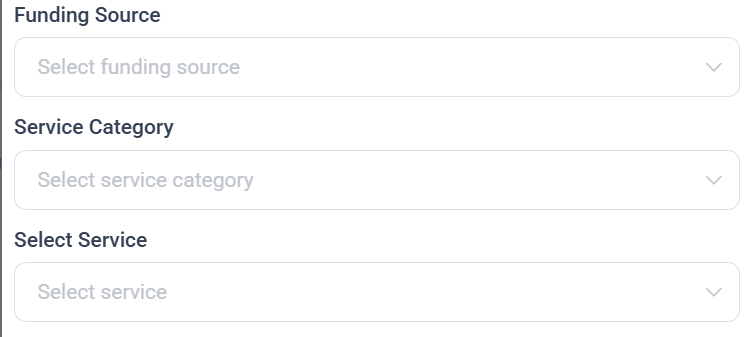
Select the funding source, and Choose the service category, and specific service for which the funding is allocated.
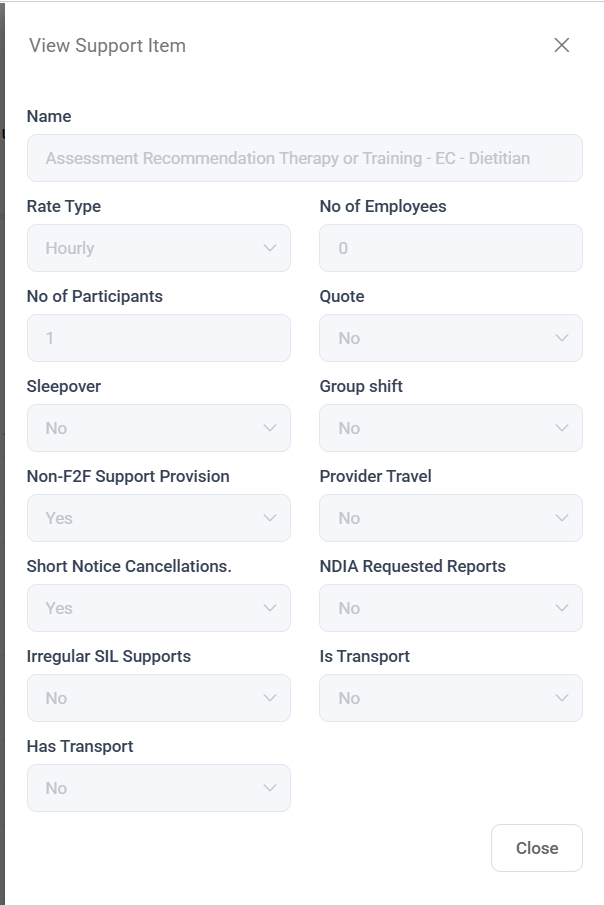
After you fill in all the necessary fields and select a Service Category and Service, you’ll see an “View Service Details.” This will open a detailed, read-only view of the selected Service Item, as shown in the screenshot.
This panel displays key information such as:
-
Rate Type (e.g., Hourly)
- Flags like Sleepover, Group Shift, Non-F2F Provision, Provider Travel, and more.
These details reflect the options selected during the creation of the service item. Viewing this panel allows users to verify all the service-specific attributes at a glance.
Then Enter the Total Amount Allocated for this funding. Allocated & Leftover fields automatically update based on fund usage.
If You want to apply funding and create shifts on Public Holiday, then toggle this Option.
After Filling all the required details Click Submit to save or Cancel to discard the changes.


